
- Always use a cutting board – wood, soft plastic or bamboo are good choices. Slicing against a hard surface like granite or tile will dull or chip the knife.
- Develop the habit of cleaning the knife immediately after using. Do not put it into a sink filled with other dishes – this is both a safety risk as well as poor knife maintenance. The blade can be damaged as it bangs against other dishes or the sink.
- Never attempt to catch a falling knife – it’s as likely you sill catch the blade as the handle. Focus instead on clearing all body parts from the path of the knife by taking a large step back.
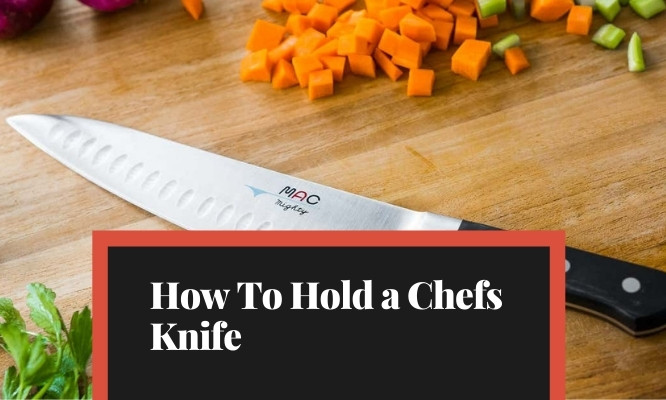
Any list of tools essential to a kitchen will include a sharp knife. The most versatile of all kitchen knives is the chef’s knife, or French knife.
This heavy-bladed knife can be used for mincing, slicing, chopping or dicing. The blade is typically 8″ or 10″ long with a slightly curved, wide, blade. While a Santoku knife is similar to a chef’s knife in function and size, the blade is straight, encouraging a chopping rather than slicing motion.
A chef’s knife should have a tang that runs the complete length of the knife This is actually part of the blade, which runs all the way through the handle. The knife may be stamped (cut from a piece of steel like a cookie) or forged (shaped using pressure and heat). Forged knives will have a bolster, which is a shoulder of between the handle and the blade.
Step 1: How to hold the knife
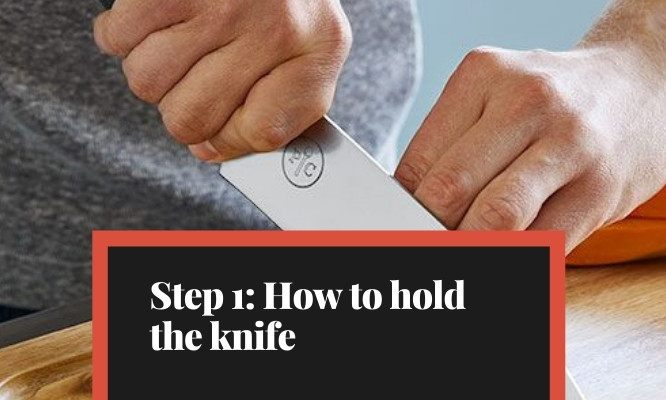
Using a chef’s knife is a two-handed operation, with the dominant hand holding the knife while the other hand serves as a guide for the food being cut. The knife is used in a rocking motion, with the tip maintaining contact with the board. The non-dominant hand controls the food as it is being cut, pushing the food into the path of the blade with the fingers curled so the tips are protected from the blade.
The dominant hand holds the chef’s knife with the thumb and forefinger ahead of the bolster. The forefinger is curled flat against the surface of the knife, with the thumb on the opposite side . This produces a more secure grip than holding the knife using the handle alone. The forefinger should never be placed along the top of the blade.
Step 2: Chopping, Dicing, and Mincing Food
Chopping, mincing, and dicing are cutting techniques that cuts vegetables to small, uniform pieces, with mincing producing the smallest pieces.
Peels should be removed and the food should be washed prior to cutting the food into pieces. The food should be cut to create a flat surface against the cutting board. Onions should be cut in half from root to stem. Carrots should have a slice taken off one side – this will keep the vegetable steady as well as discourage slices from rolling off the board.
Place half of the onion on the board and slice it from root to stem end without completely slicing through the root end. This will help hold the onion together. Turn the board or the onion 90 degrees, and slice across the width of the onion in several even strokes. Discard the root end.
Mince chives in bunches after rinsing. Cut and old or wilted end of and discard, then hold the bunch together against the cutting board with the non-dominant hand. Keep the tip of the knife against the board and rock downward to make even slices, feeding the food forward toward the blade with the non-dominant hand. The fingers of the non-dominant hand should be curled to protect finger tips from the blade.
Step 3: Crushing Garlic
The blade of a chef’s knife is sufficiently thick and strong to serve as a crushing tool for garlic cloves. After removing the clove from the bulb, slice both ends of of the clove off and discard the skin. Lay the blade flat on top of the clove at a slight angle, with the tip meeting the surface of the cutting board. Pound the fist down sharply on the flat surface of the blade over the clove.